
There are many things to love about macs- the design, the minimalism, and how everything works without any fuss. But one thing that can drive mac users crazy is when their computer starts to fill up with files and becomes cluttered.This can slow down your Mac and make it difficult to find the file you need.
So, in this article, we’ll discuss some best practices for mac file organization to keep your virtual environment clutter-free and help you be more productive!
Table of Contents
Mac File Organization: Managing Files on Mac
Naming and Viewing your files
Let’s start from the ground up. That is, by how exactly you store files on your Mac. It’s important to develop an effective file system so you can recognize and access them easily.
So, our first tip on how to organize files on Mac is to be more specific with naming your files. Consider adding information like dates, project names, and version numbers to file names so you can easily search for them later. You can even put a short description of it.
Also, remember to utilize the many ways you can view your files in Finder:
- Use Finder’s Sort By feature to sort files by name, file size, date modified, etc.
- Search by file type using Finder’s search function and include file extensions in your search. For example, if you’re looking for a Keynote presentation, you can type “.key” into the search bar.
- To get a preview of the file without opening it, hit the spacebar while the file is selected.
Applying these tips will help you find and group files effortlessly.
Saving Your Files
We also recommend using “Save as” rather than “Save” more often. Though this will require a few more clicks, it will help cut down time in the long run. Going for “Save as” eliminates the need to transfer files from your downloads or documents folder to more appropriate folders they should’ve been in the first place.
Just press Command +Shift+S to bring up the Save As window where you can name your file and choose its location.
Mac Folder Structure Best Practices
Almost everyone knows how to create a folder but are you using them to group your files efficiently? When you have all these files, it can be tempting to just dump everything into the same folder. However, over time, this will only lead to more problems. So we recommend the following best practices on how to organize files on mac folders:
Group By File Type
Create separate folders for photos, videos, music, and documents. This will help you navigate needed files in a snap since you know exactly where to look for a certain type of file.
Use Folders For Different Projects
If you tend to work on multiple projects simultaneously, you also need to be hyperspecific when it comes to the purpose of each folder.
Consider creating a folder for each project and storing relevant files inside. Dedicate a folder for work-related files and another for personal or passion projects.
Grouping files by media and purpose helps you stay focused as it prevents mixing up different files and ideas.
Relocate Backups and Old Versions
For a quick “decluttering” of your main folders, consider making a separate folder for backups and older versions of files. Doing this frees up space and makes finding the most recent versions of your files easier.
When you’re sure you no longer need these backups, you can just delete the whole folder, and voila! More storage space.
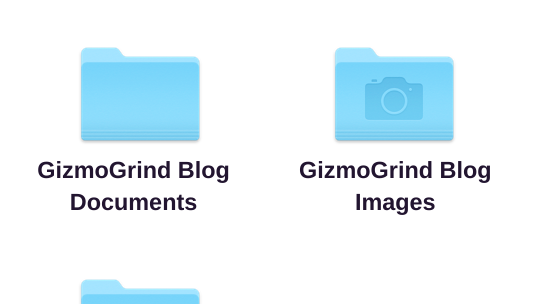
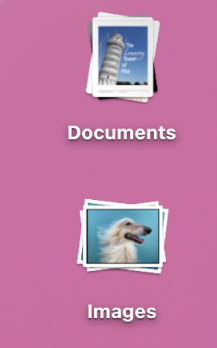
Use Images as Folder Icons
Assigning images as folder icons might seem a bit extra, but it can actually help you become more productive.
Since we process images faster than text, using an image as a folder icon can help you spot the folder you’re looking for more easily.
This is especially helpful if you have a lot of folders with similar names.
To assign an image as a folder icon, follow these steps:
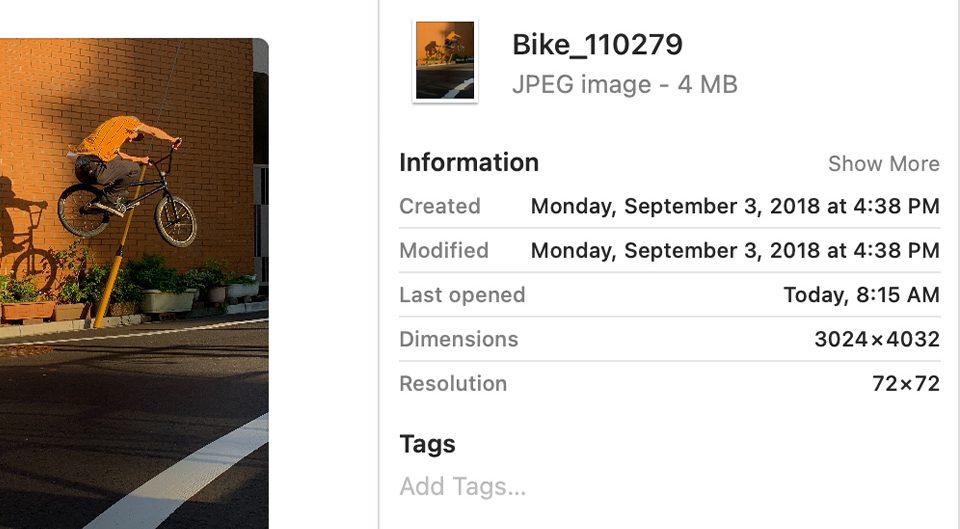
- Open the file of the image you want to use on your Mac, then copy its contents to the Clipboard. Ensure the photo is HD and doesn’t look blurry when you assign it as a folder icon.
- In Finder, control-click the folder you want to assign the image to, then click Get Info from the shortcut menu.
- Click the small folder icon at the top of the info window at the Get Info window.
- Then press Command-V to paste in the image. You can also do this by dragging an image file into the folder icon.
- The image will now be that folder’s icon
To bring the original folder icon back, just click the folder icon and press Command + X
Mac File Organization Using Smart folders
Smart Folders are one of the most innovative and underrated features on a Mac. If you don’t already use them, you’re missing out.
Smart Folders are basically saved searches that appear as regular folders. This means you can access all the files related to your search in one go without going through all the locations in Finder.
Here’s how to organize files on macs using Smart Folders:
- Open a new Finder window and press Command + option or go to file> New Smart Folder.
- A search field will appear to help you specify the criteria for your smart folder.
- Enter characteristics such as topic, keyword, date etc. then choose from the generated suggestions below the search.
- Add multiple search criteria for your search by clicking the “+” button below the Save option.
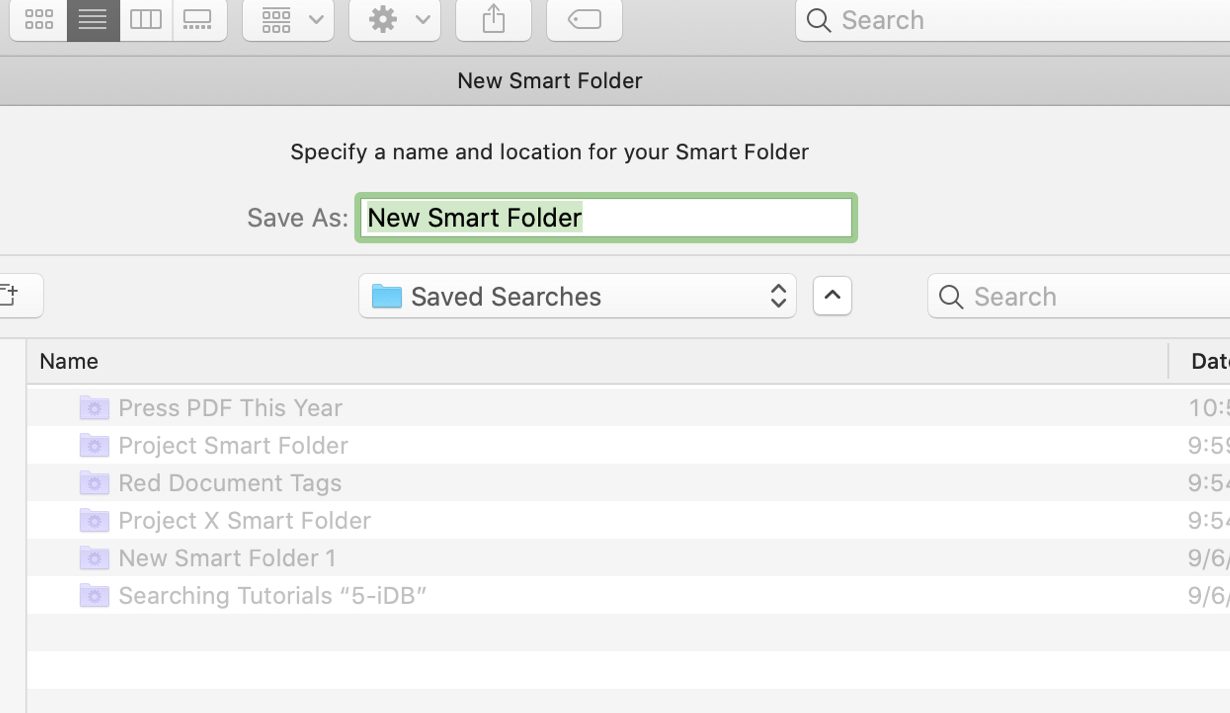
- Once done, click Save and enter a name and location for your Smart folder.
The best part about Smart Folders is that they don’t actually move your files. They just create a reference to all the related files so you can easily find them later.
How to Organize Files on Mac Desktop
A messy desktop:
- Is distracting.
- Makes it difficult to find files.
- Takes up RAM space and therefore slows down your Mac.
So, you also want to keep files as neat as possible out there.
Decluttering Files on Your Desktop
An efficient way of decluttering your desktop is by sorting them out using your Mac’s view options.
To curate your desktop from scratch, clear out all the displayed icons. Then pick out specific files to be displayed using Finder by following these steps:
- Click on the Finder icon, then select Finder Preferences from its menu.
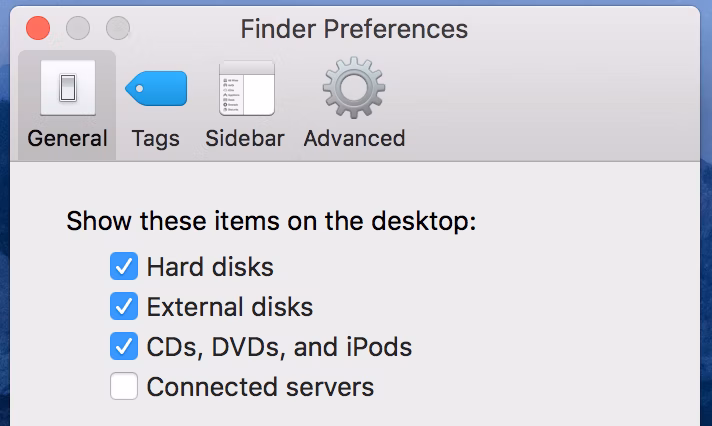
- Go to the General tab to choose which types of files you want on your desktop.
- For example, if frequently work with images and videos from SD cards, you might want to checkmark external disks under “Show these items on the desktop.“
Now, let’s say you want to organize what’s already on your desktop. You can get a clearer view of the items worth keeping by using the Sort By option. Simply click the View menu on your desktop, then click Sort By, and choose whether to sort them by name, date modified/created, or size.
After decluttering, you can use the Clean Up By option to choose how you would like to arrange the remaining files.
Using Stacks
If you’re having trouble reducing your desktop icons, you can try putting them in Stacks. This macOS feature lets you organize your files into neat little groups.
Just drag and drop one file on top of another to create a stack or click View on your desktop and select Use Stacks. From there, you can group them by date last modified, date added, etc.
Desktop Minimalism
Moving forward, do your best to apply a minimalist approach to your Desktop arrangement. Think of it like this: Your desktop should be reserved for items that need your immediate attention. Create shortcuts only to apps you use on the daily and important files you need to access right away.
Mac File Organization Using Mac Tags
One of Mac’s most underrated features is tags. This feature allows users to label files for quick and easy access later on. You can use tags to round up different files and media without moving them. #Verycool.
Here’s how to assign tags to your files:

- Right-click a file, then choose Tags from the shortcut menu that appears.
- Type a new tag name in the box that appears, or click one of the existing tags listed there.
- To apply more than one tag to a file, press Return after each tag name.
- Choose different colors for each tag.
- After assigning tags to files, you can keep track of them at the left sidebar of your Finder.
Below are some good tag ideas:
For workflows:
Active | Archive | Completed
For general/personal matters:
Urgent |To-do | Bills | References | To delete, etc.
Syncing Files With iCloud Drive
Lastly, if you’re constantly on the go and use many devices, iCloud Drive can help you access and update important files. You can even keep the same organizational structure you worked so hard on when syncing files!
Here’s how iCloud Drive works:
- iCloud Drive is automatically installed on any current Apple device running the latest OS.
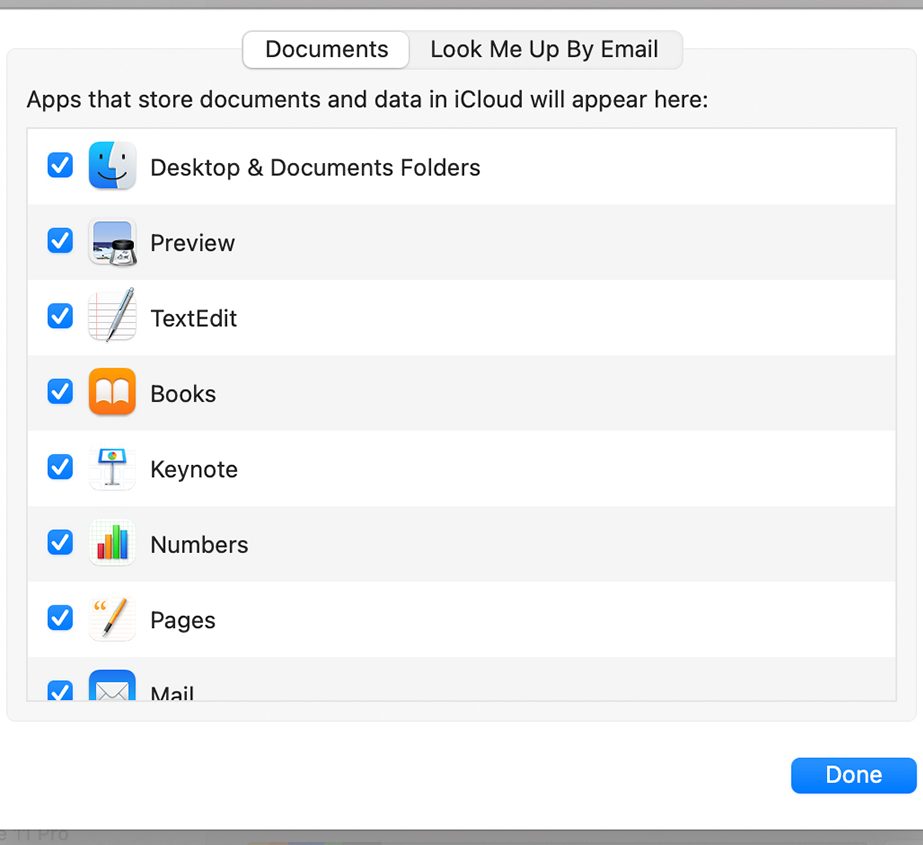
- Mac users can enable iCloud Drive by going to System Preferences, clicking iCloud, and selecting iCloud Drive.
- By default, your Desktop and Documents folder will be saved to iCloud, but you can always change which files and folders you want to be synced.
- Any changes made to those documents will be updated across all your devices where iCloud Drive is enabled.
- Any new documents you create within your chosen locations will also be stored in iCloud Drive.
- You can also access files in your iCloud Drive by logging into your iCloud account on iCloud.com. This means you can access these files even on a Windows device.
So there you have it—the essential Mac file organization tips to help get your digital life in order. Do you have any other suggestions for organizing files on Mac? Please share them with us in the comments below!